How To Freeze Green Beans
Ever find yourself with more green beans than you know what to do with? In today’s post, we’ll be tackling a practical and straightforward solution to that problem: How to freeze green beans.
It’s a skill that can be a true game-changer, allowing you to keep these nutritious greens at their peak freshness for months.
This guide will walk you through the steps to ensure that your frozen green beans retain their quality and flavor.
How to freeze green beans
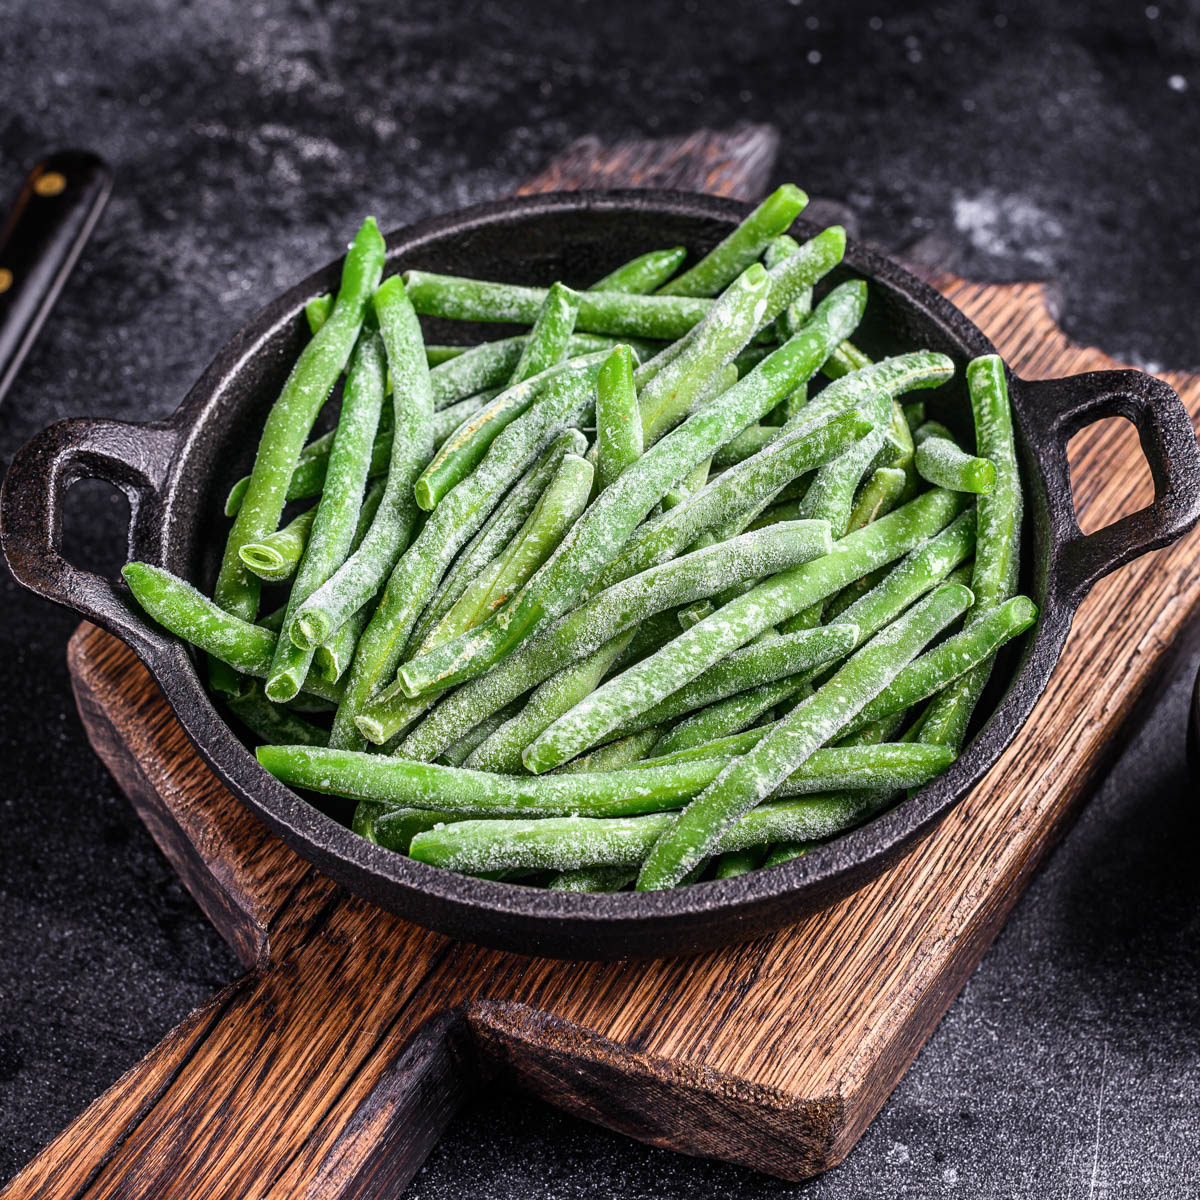
To freeze green beans, first, wash and trim them. Then, blanch in boiling water for 3 minutes and cool in ice water. Dry the beans thoroughly, spread them on a baking sheet, and freeze. Once frozen, transfer to airtight bags or containers. Properly stored, they can last up to a year.
For those of you that have harvested your gardens or found a great deal at your local farmers market and have an abundance of fresh green beans, let’s learn how to freeze green beans!
I’ll walk you through each step of the process, ensuring that your green beans will be just as delightful and defrosted as they were fresh.
Freezing green beans is a simple process that allows you to preserve their freshness for months. Here’s how to do it:
- Preparation: Start by washing the green beans thoroughly under cold water to remove any dirt. Trim off the stem ends, and cut the beans to your preferred size.
- Blanching: Blanching is the secret to keeping your green beans fresh in the freezer. Blanching involves boiling the beans for a brief time and then quickly cooling them in an ice-water bath. This process preserves their color, texture, and nutritional value. To blanch green beans, drop them into boiling water for about 3 minutes, then quickly transfer them to a large bowl of ice water for another 3 minutes to halt the cooking process.
- Drying: After the beans have been blanched and cooled, it’s crucial to dry them thoroughly. Pat them dry with a clean kitchen towel or let them air dry. Any extra moisture can cause a freezer burn.
- Freezing: Arrange the beans in a single layer on a baking sheet, then place the sheet in the freezer for a few hours until the beans are frozen. This step prevents the beans from sticking together in the freezer.
- Storage: Once the beans are frozen, transfer them into freezer bags or airtight containers. Make sure to squeeze out as much air as possible before sealing the bags. With proper storage, your green beans can retain their quality for up to a year.
Remember to label your bags or containers with the date of freezing. That way, you’ll know which batch to use first.
Freezing green beans is a great way to take advantage of a plentiful harvest or a supermarket sale, ensuring you have a healthy, nutritious ingredient ready to use all year round.
Learn how to freeze carrots and how to freeze kohlrabi to correctly store your vegetables for longer.
Why should you freeze green beans?
There are numerous reasons why freezing green beans is an excellent idea. First and foremost, it dramatically increases their longevity.
Fresh green beans can start to lose their crispness and flavor within a week of purchase. However, when you freeze them, you extend their usability for up to a year.
This means you can always have these nutrient-rich vegetables on hand, no matter the season. Another crucial advantage is the preservation of nutritional value.
When you freeze green beans correctly, they retain most of their vitamins, minerals, and fiber, ensuring that you’re still getting plenty of nutritional benefits from them, even long after they’ve been picked.
How to defrost frozen green beans
Defrosting frozen green beans is a straightforward process, and there are a few different methods you can use, depending on your recipe.
One of the easiest ways is to simply place the frozen beans directly into the dish you are cooking. They will defrost as they heat up.
If you’re using the beans for a salad or another dish where they’ll remain raw, you can defrost them by placing the beans in a colander and running cold water over them until they’re defrosted.
Alternatively, you could transfer your frozen green beans to the refrigerator for slow and safe thawing overnight.
Remember to cook the defrosted beans immediately for the best texture and flavor. Each of these methods helps maintain the integrity of the green beans while making sure they’re safe and ready to be used in your favorite recipes.
I have other helpful posts like how to defrost ground beef or how to defrost chicken that you might find useful.
How long do frozen green beans last?
When properly stored, frozen green beans can maintain their quality for up to a year. It’s important to note that while they remain safe to eat beyond this point, their quality in terms of texture and flavor may start to decline.
Therefore, for the best culinary experience, aim to use your frozen green beans within this one-year timeframe.
Also, remember to label your storage bags or containers with the date of freezing. This way, you can keep track of how long they’ve been in the freezer and use the oldest ones first.
Frequently asked questions about how to freeze green beans
Conclusion
With this handy guide, you can ensure these nutritious, vibrant vegetables are always readily available in your kitchen, no matter the season.
Remember, the key to successful freezing lies in the preparation – clean, blanch, dry, freeze, then store.
And when it comes to using your frozen stock, the versatility of green beans will allow you to incorporate them into an array of dishes, adding nutrition and flavor in equal measure.
So the next time you find yourself with an abundance of green beans, don’t let them go to waste. Instead, put your new freezing knowledge to the test!

How to freeze green beans
Ingredients
- Fresh green beans
- Water
- Ice
Instructions
- Wash the green beans thoroughly under cold water and trim off the ends.
- If desired, cut the beans into bite-sized pieces.
- Bring a large pot of water to a boil and add the green beans.
- Blanch the beans in the boiling water for about 3 minutes.
- While the beans are blanching, prepare an ice bath in a large bowl or sink by filling it with cold water and ice cubes.
- Using a slotted spoon or tongs, transfer the blanched beans to the ice bath and let them sit for another 3 minutes.
- Remove the beans from the ice bath and pat them dry with a clean kitchen towel or paper towels.
- Arrange the beans in a single layer on a baking sheet.
- Place the baking sheet in the freezer and freeze the beans for about 2 hours or until they are completely frozen.
- Once frozen, transfer the green beans to freezer bags or airtight containers.
- Squeeze out as much air as possible before sealing the bags or containers.
- Label the bags or containers with the date of freezing.
- Return the green beans to the freezer for long-term storage.
Online Cooking for Beginners Course